
Step-by-Step Wooden Rowboat Construction Plans for All Skill Levels
Have you ever dreamt of gliding across a serene lake in a boat you built with your own hands? The satisfaction of crafting a beautiful, functional rowboat from scratch is unparalleled. This article provides detailed, step-by-step plans that cater to all skill levels, allowing you to embark on this rewarding journey. Whether you're a seasoned woodworker or a curious beginner, these plans will guide you through the process, from selecting the right materials to launching your very own masterpiece.
Choosing the Right Materials and Tools
The first step in your rowboat construction journey is selecting the right materials. This involves choosing the wood species, considering its strength, durability, and aesthetic appeal. For a classic look, consider cedar, oak, or mahogany. These woods are naturally resistant to rot and water damage, making them ideal for boat construction. When selecting lumber, ensure it's free from knots, cracks, and other imperfections that can compromise the boat's integrity.
Essential Tools for Rowboat Construction
To ensure a successful build, you'll need a set of essential tools. This includes:
- Saw (circular, chop, and handsaw)
- Plane (hand plane and power plane)
- Router
- Drill and drill bits
- Sandpaper (various grits)
- Clamps
- Measuring tape and pencil
- Safety glasses and gloves
You may also find other tools helpful, such as a jigsaw, a belt sander, and a miter saw. Before you begin, familiarize yourself with these tools and practice using them safely.
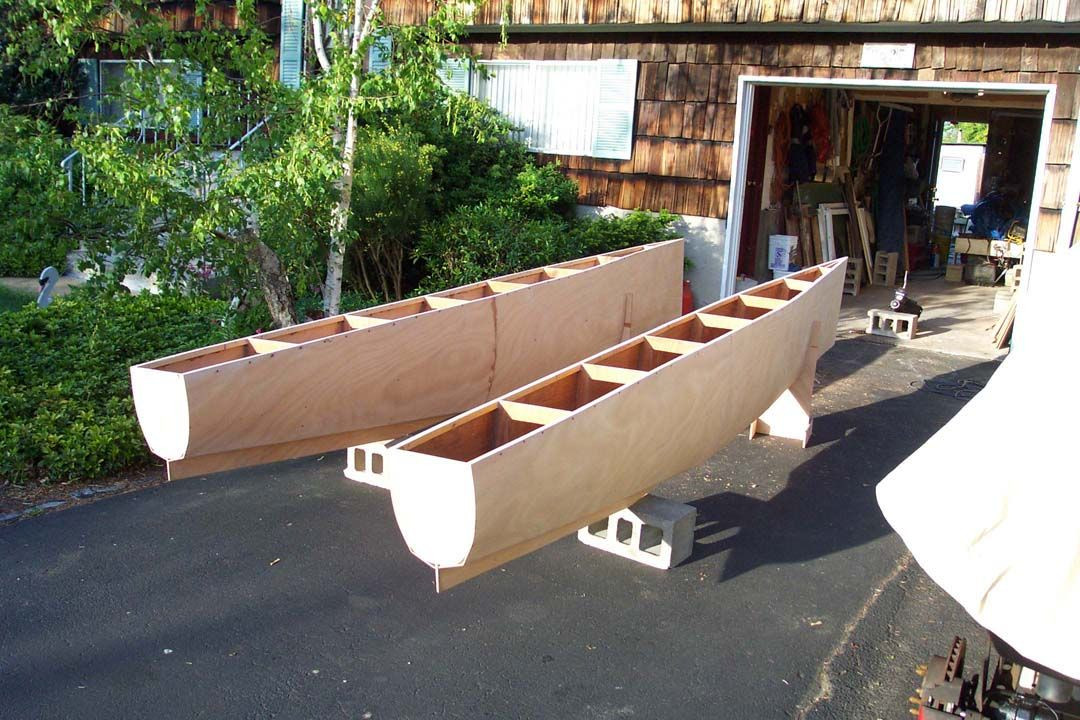
Building the Rowboat's Frame
The frame, or skeleton, of the rowboat provides its structural integrity. It's typically constructed using strong, durable wood like oak. The process involves precisely cutting and joining the ribs, stem, and keel to create a robust foundation for your boat. Refer to the detailed plans for accurate measurements and angles. Use strong wood glue and screws or boat nails for a secure and lasting bond.
Planking the Hull
Planking the hull is a crucial step that gives the rowboat its shape and watertightness. Use thin planks of wood, often cedar, mahogany, or pine, to create the smooth, flowing lines of the boat. Each plank is carefully fitted and secured to the frame using screws or boat nails, ensuring a tight, watertight seal. This step requires precision and patience as you work to create a smooth, even surface.
Finishing Touches: Adding Detail and Style
After the hull is planked, you can add the finishing touches that make your rowboat unique. This might include installing seats, thwarts, and oarlocks. For a classic look, consider adding decorative trim around the edges of the boat. Once the structural components are in place, it's time to apply a final coat of varnish or paint to protect the wood and enhance its natural beauty.
Launching Your Masterpiece
With the final coat of varnish or paint dry, your rowboat is ready for launch. This is the culmination of your hard work and dedication, a moment of pure joy and accomplishment. Take a moment to admire your creation, then carefully launch your rowboat into the water. Enjoy the feeling of being on the water, knowing that you've created something truly special.
Tips for Success
Here are some tips to ensure a successful rowboat construction project:
- Read and understand the plans thoroughly before you begin.
- Take your time and work carefully, ensuring each step is done correctly.
- Use quality materials and tools for a durable and lasting rowboat.
- Ask for help if you encounter any difficulties. There are many online resources and forums dedicated to boat building.
- Enjoy the process! Building a rowboat is a rewarding experience that you'll cherish for years to come.
Building a rowboat is a challenging yet rewarding endeavor. By following these steps and utilizing the resources provided, you can turn your dream of owning a handcrafted boat into a reality. Remember, patience, precision, and a touch of craftsmanship will lead you to a beautiful and functional boat that you'll be proud to call your own. Now, get your tools ready and embark on this exciting journey of boat building!
0 comments:
Post a Comment
Note: Only a member of this blog may post a comment.